Many entry-level 3D scanners claim an accuracy of 0.02mm, 0.05mm, 0.1mm. Is this true? How should we make the right choice? "Please note, single-frame accuracy is not the parameter used to measure the accuracy of handheld scanners. If you wish to select products based on accuracy parameters, what you need to consider is volumetric accuracy. Additionally, it is advisable to opt for products certified by professional accuracy laboratories. EINSTAR, from Shining 3D, which has CNAS accreditation and ISO 17025 laboratory certification, leads you to explore the remarkable genesis of high-accuracy technology.

Figure 1 CNAS and ILAC
Accuracy Laboratories And Metrological Standards
Firstly, the genesis of high accuracy relies heavily on internationally accredited accuracy laboratories and metrological standards. As previously mentioned, our laboratory holds CNAS accreditation and possesses the ISO 17025 laboratory certificate. Additionally, SHINING 3D is one of the creators of national standard ,Which aligns with the world's first metrological standard VDI/VDE 2634 part 2 and 3, demonstrating exceptional industry authority

Figure 2 VDI/VDE 2634 Part 2
High Value And Cost Calibration Artifacts
Specifically, metrological standards outline explicit requirements for determining the normal value of calibration artifacts. The laboratory ensures the standard values of the ball and ball bar through layer-by-layer verification using three different advanced measurement instruments, which means that the calibration investment for a single ball and ball bar is very high. SHINING 3D scanners undergo rigorous certification processes by scanning standardized artifacts endorsed by this standard system. Moreover, cross-validation with leading laser tracking systems is included.
Figure 3 Accuracy Certification Pathway
Accuracy Assessment Procedure
Furthermore, accuracy assessment entails scanning and measuring seven Ball bar(a calibration artifacts) standards grouped by size and orientation. A robotic arm completes scans of all seven Ball bars in various directions, calculating measurement errors in ball center distance, dimension detection, and spherical shape detection to assess accuracy levels

Figure 4 How SHINING 3D ensures scanner accuracy
Ensured product quality
Our product quality is ensured by applying the highest standards of the 3D scanning field to every product. Not only based on our accuracy laboratory and metrological standards, but also integrate these practices across all aspects of our product development, from the lens, projector, and calibration board selection to structural design, every aspect prioritizes scanning data precision and accuracy.EINSTAR and our parent company Shining 3D share the same R&D team, excellent scanning technology, 3D vision algorithm, and quality management system. This enables our teams to consistently achieve excellence and drive innovation.

Figure 5 Accuracy Certification Workflow
Identifying biased information
After understanding accuracy measurement standards and processes, you might wonder if the single-frame accuracy data mentioned at the beginning of the article falls under the concept of "accuracy" required by the metrology industry. Clearly, it does not.
Take handheld scanners for example. They offer two scanning modes: continuous scanning and single-frame capture scanning. What we require is volumetric accuracy. Single-frame accuracy merely represents the accuracy of a single image captured in the single-frame capture scanning mode. To obtain results, these images need to be aligned together using stitching algorithms. It's important to note that this process involves combining thousands or even millions of frames, where the accuracy of stitching plays a crucial role. Single-frame accuracy alone cannot represent product capability. Exercise caution and further confirmation when checking labeled accuracy parameters.
Accuracy in Practical Applications
Back to the practical application of our products, accuracy may not be as critical in the daily use of our 3D scanners. The core lies in meeting your needs more efficiently with lower expenditure. This is also one of the reasons why we enthusiastically promote entry-level products to everyone.
It is most important to understand the specific application of the scanned model. In 3D scanning, accuracy is especially important for industrial applications, such as quality inspection. But for applications that may only use 3D data visually, such as data archiving and virtual displays, accuracy may not be a very important factor.
For example, used EINSTAR Will Co scanned the human face in order to make a Halloween mask. To accommodate the size of the face, such an application undoubtedly requires a certain level of accuracy in the scan to restore the details of the face, but it does not require as high a fit as a high accuracy industrial inspection. EINSTAR is certainly welcomed in such scenarios: Tailor-made costume
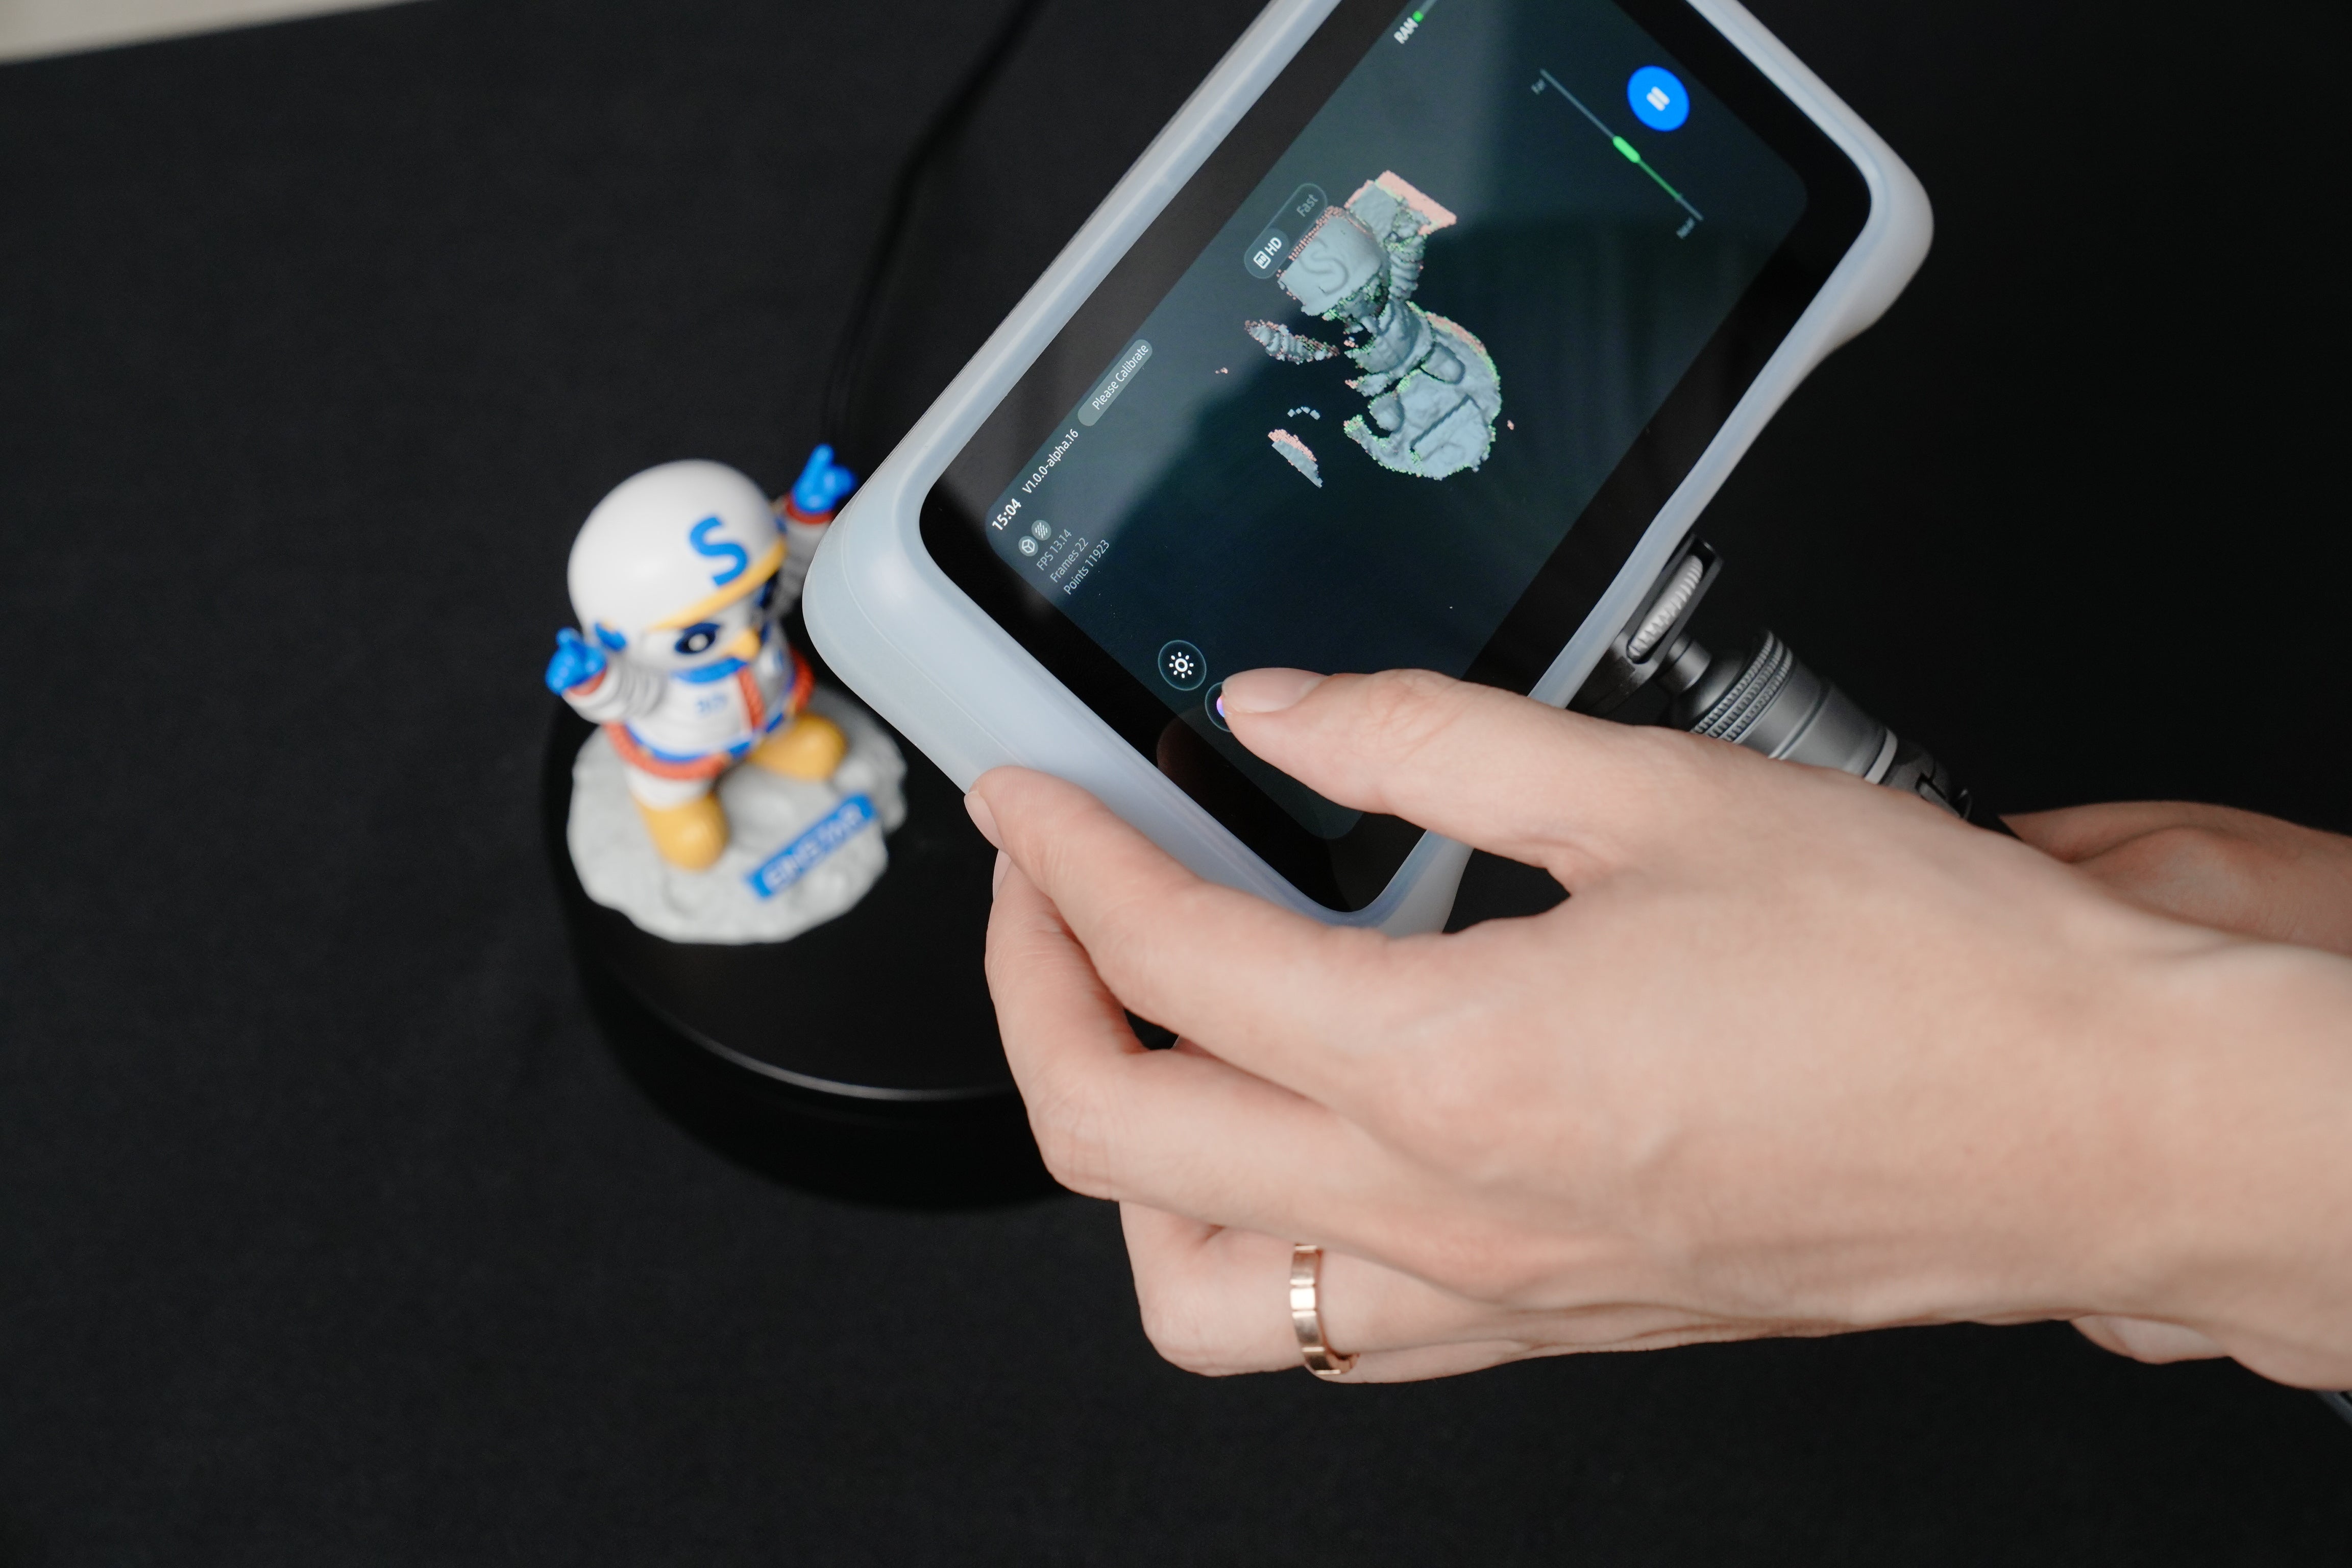
EINSTAR is also accurate enough for 3D printing, and you can check out: EINSTAR 3D printing test video in which EINSTAR scans a figurine about 7 cm tall and prints it out.
Accuracy or Resolution
In these scenarios, what you truly require is the scan's resolution. Defining the point distance which the scanner is capturing. The smaller the distance, the higher the resolution, and more density points of the data for better detail.

Figure 6 Resolution
In conclusion, EINSTAR does not provide inaccurate data that has not been verified by accuracy laboratories. We aim to deliver authentic 3D scanning knowledge offer high-quality scanning data and provide an exceptional scanning experience with professionalism, rigor, and accountability.
If you need any help with scanner selection, please contact einstar_shop@shining3d.com. There are many professionals there to answer your questions about accuracy and model selection!








Leave a comment
All comments are moderated before being published.
This site is protected by hCaptcha and the hCaptcha Privacy Policy and Terms of Service apply.