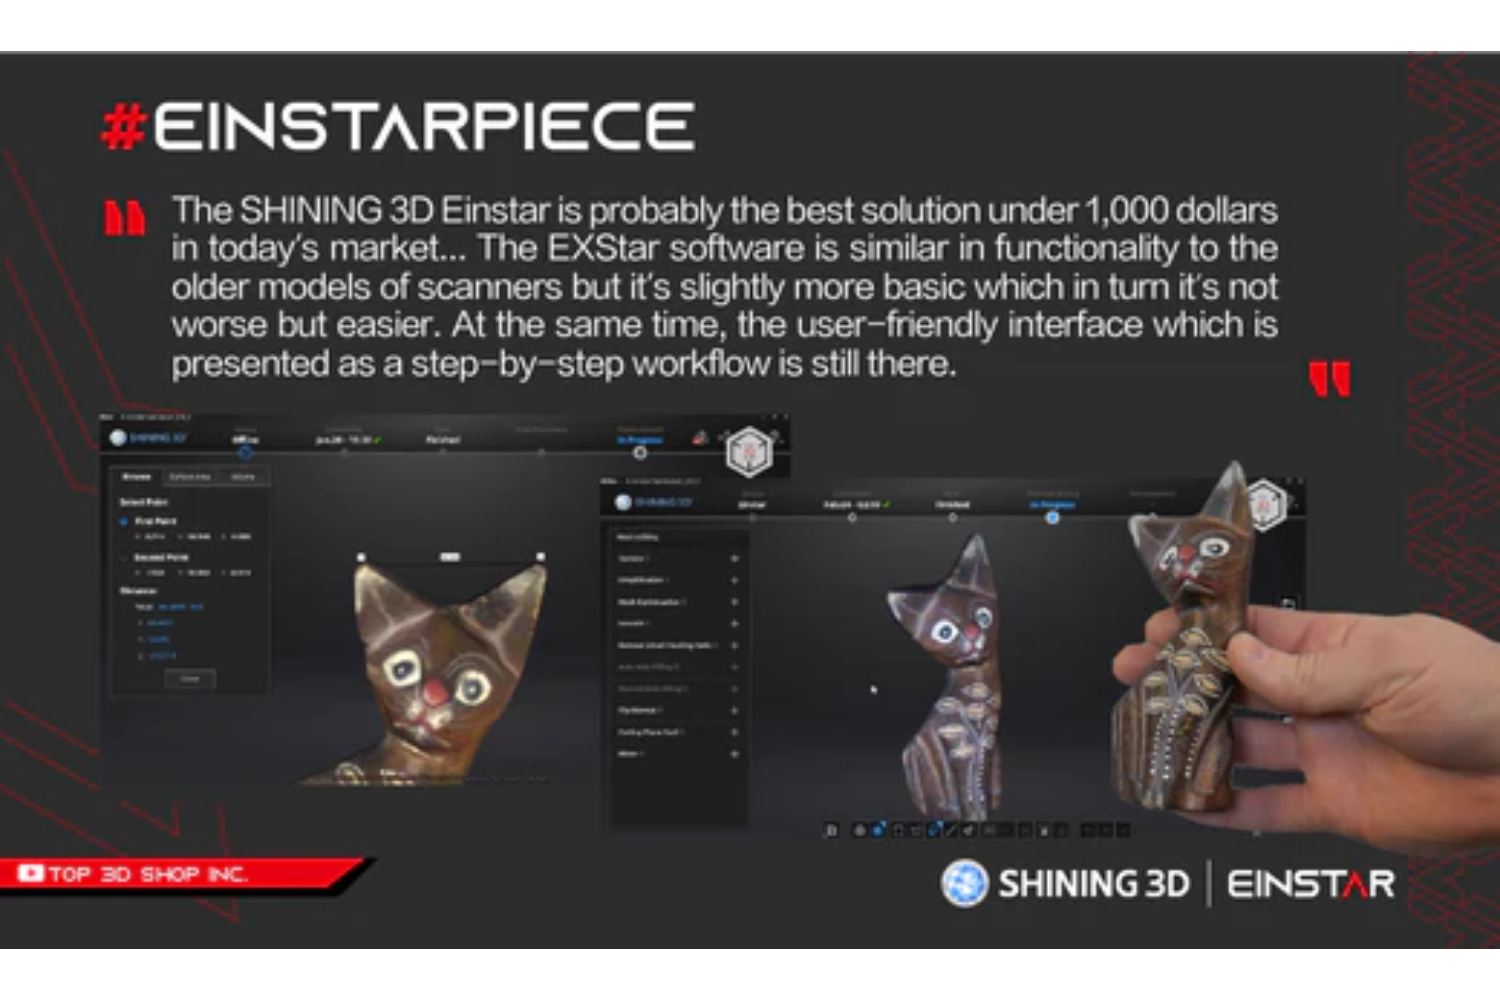
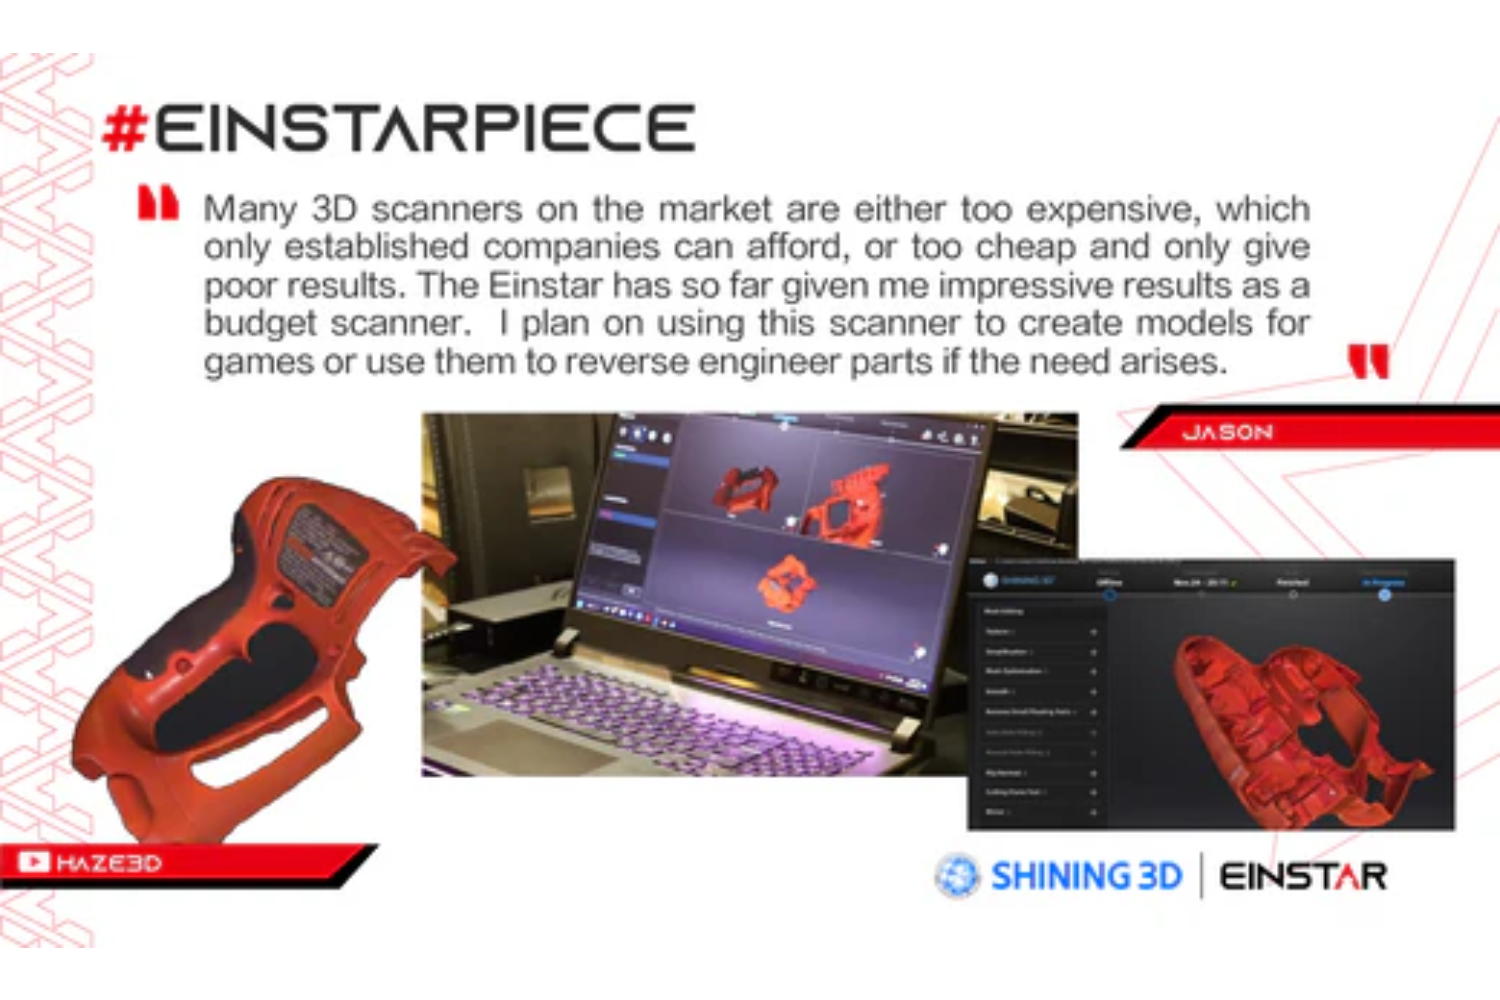
Shining 3D is a China-based company established in 2004, specializing in high-precision 3D digitizing and printing technologies. Known for offering affordable yet efficient high-tech solutions, Shining 3D is a key player in the field. Their products are utilized across various sectors, including industry, healthcare, and education.
Einstar 3D Scanner Specifications
The Einstar is a new addition to Shining 3D's lineup of budget-friendly scanning equipment. It utilizes a combination of structured light and laser technologies with infrared VCSEL projectors, making it particularly useful for face digitizing.
Package Contents:
- Scanner
- Data cable for computer connection
- Power adapter (12V, allowing use from car's onboard network or other power sources)
- Spare markers
- Quick start guide
- Special glass plate with markers for calibration
- Shoulder strap for carrying the case
- Standard power cord for the adapter
- Cleaning cloth for optics
The scanner comes in a compact carrying case that protects it from falls and external influences. While the supply package is not extensive, it contributes to the affordability of the product. For desktop scanning, a turntable and tripod are sold separately.
Design and Build:
- The scanner is hand-held, made of plastic with a protective silicone cover.
- Includes a wristlet to prevent accidental drops.
- Control buttons and indicators for scanning modes are located at the top of the back side.
- Weight: Approximately 600 grams.
- Can be mounted on tripods via a standard M7-threaded mount (accessible by removing the silicone cover).
Technology:
- Equipped with built-in cameras: two stereo cameras and one RGB camera for capturing color details.
- Uses white structured light and infrared technology for scanning. Unlike professional scanners, it does not have visible, rhythmically repeated patterns.
- The Class 1 laser is eye-safe for users and bystanders.
Operation:
- The white light is activated for color determination, using the medium color camera.
- The introductory guide in the package advises downloading the detailed user manual from the official site.
Setup:
- Connect the main cable to the scanner by aligning the red marks on the socket and plug. The special connector with fixation ensures a firm connection.
- Connect the power adapter to the main cable, and then connect the power cord to the adapter.
- The scanner uses a USB 2.0 connector. After connecting to the computer, install the necessary software.
System Requirements:
- Evaluate your computer's multi-thread performance using the CPU-Z utility, with a minimum score of 4000 points.
- Ensure your graphics renderer supports OpenGL version 4.3 or higher (check with OpenGL Extensions Viewer).
- Use a computer with an NVIDIA graphics card that supports CUDA version 10.2 or higher (verify in the NVIDIA control panel).


Leave a comment
All comments are moderated before being published.
This site is protected by hCaptcha and the hCaptcha Privacy Policy and Terms of Service apply.